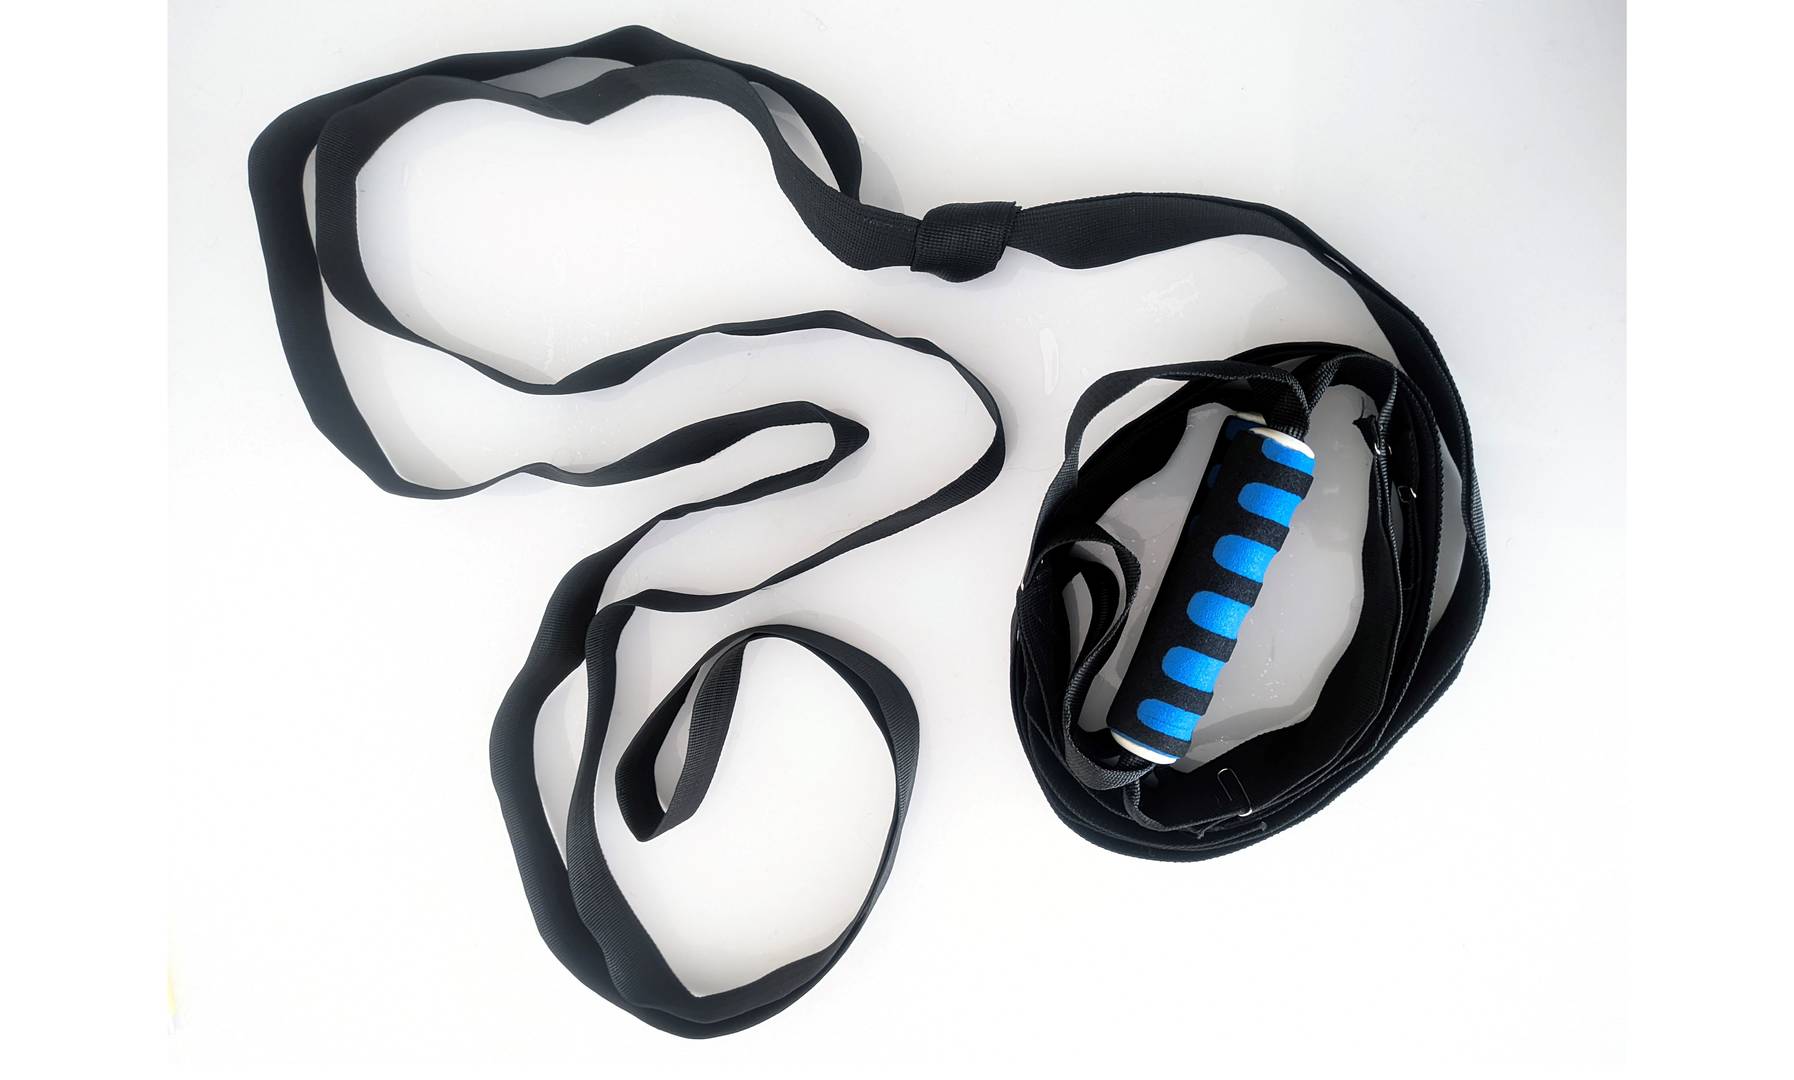
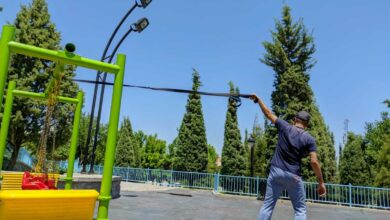
After various researches and comparisons between different full body calisthenics workout tools, TRX happened to be the most efficient and convenient piece of equipment. Through this guide, you will be able to build your own suspension trainer at a low cost.
A homemade TRX is as functional as a factory-made TRX when it comes to the quality of training. It is quite easy to set up. So, in case you have enough patience, you can make your own TRX suspension trainer.
Table of Contents
Necessary materials to build your Homemade TRX
- Strap (webbing), about 10 meters length, 1-inch= 2.5 cm width
- 2 PVC pipes 1-inch= 2.5 cm width, 7-inch length
- 2 bicycle handle grips or a bicycle inner tube to cover handles
- 1 Oval carabiner
DIY homemade TRX suspension trainer
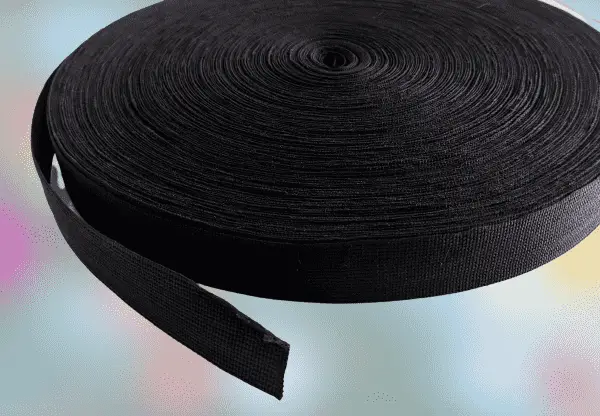
TRX type straps are made of strong materials that are used in making parachutes. These nylon straps have different strengths. So, for making your homemade TRX pay attention to the strength of the webbing before you purchase one. In our homemade suspension trainer, the width of the webbing is 1-inch= 2.5 cm that can run through 1-inch PVC pipe. If you decide to use 3-cm width PVC pipe, you can also use 4-cm width webbing to run through TRX handles. Prepare 10 meters long of straps to set up your best DIY suspension trainer.
DIY handles for homemade TRX suspension trainer
For handles, you can use 1-inch=2.5 wide PVC pipe or 3 cm depending on your hand’s size. Wider than that will not provide a proper grip during the exercise. Provide 2 PVC pipes each at 7-inch length. Although, if you want more custom-made handles, hold one PVC pipe in your hand, then add 6 cm length to it. From there you should cut the pipe. If you decide to purchase a PVC pipe from a local store, it is better to ask them to cut it for you rather than doing it yourself, since they have the necessary tools to sever the PVC easy and clean.
After cutting both pips at the same size, the cutting edges will have a sharpness that gradually can damage the webbing during exercises. In order to eliminate this sharpness, hold the PVC pipe over fire at one end of it, and as it starts to melt gradually rotate the pipe until it becomes smooth and curvy all around.
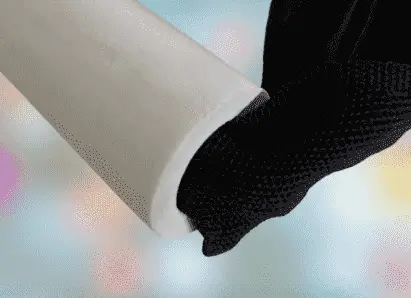
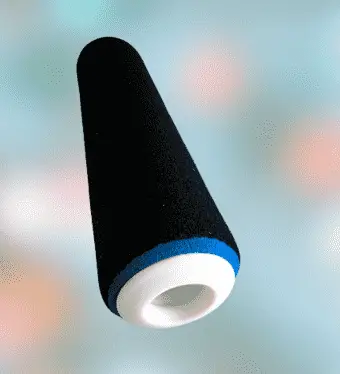
Note that you should only heat one side of the pipe so that you can wear a bicycle handle grip on it from the other side. After covering the PVC with a handle grip, heat the other side of the pipe so as it becomes curvaceous and gains a little upturned edge. This elevated edge at both sides prevents the handle covers to slip through the pipe during the workout.
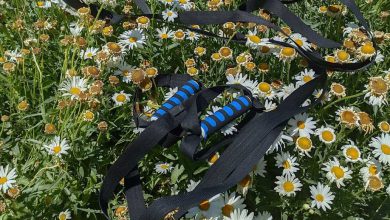
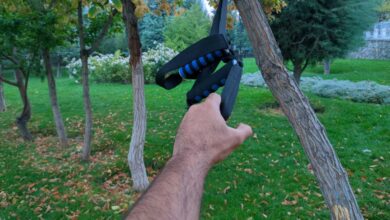
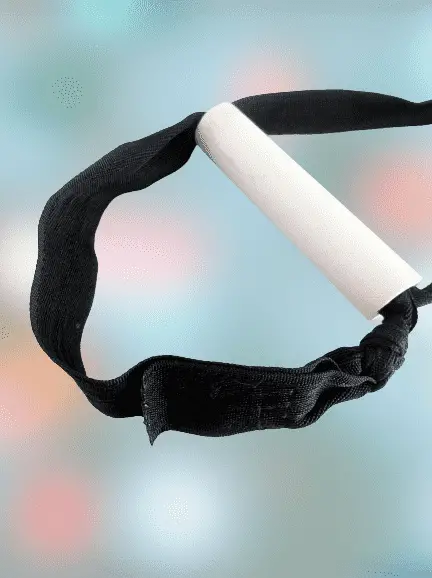
In the image above, the handle grip is made of foam and has a certain level of stretchiness. In general, you should consider the size of the handle grips and the size of your PVC handles so that they fit together.
Alternatively, instead of using bicycle handle grips, you can use a piece of bicycle inner tube which can be found in bicycle repair shops and turn it around PVC handles, and fix the end of it with a piece of nylon thread. This gives our calisthenics handles even better grip and elasticity than foam handle grips. Apart from that, it will be easier to replace it later, due to wear and tear.
Assembling Strap and handles to Build Your Own Suspension Trainer
After preparing both handles, it’s time to attach the pieces together. From 10 meters of webbing, we need about 8 meters to build the main body of the TRX suspension trainer. Note that these measurements are approximate and obtained through experience. You can change them as per convenience.
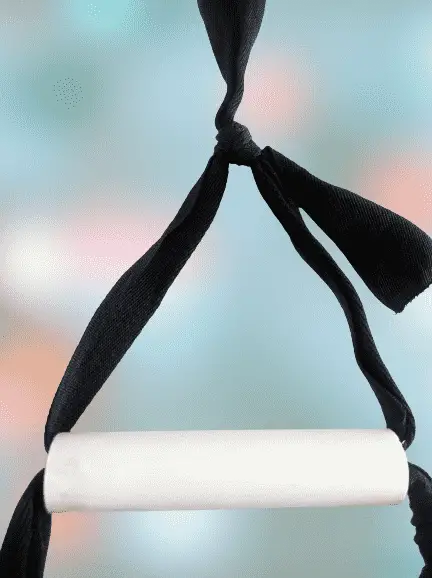
Pass one end of the strap through a handle and bring it up until it forms a triangular shape. Straps at each side should be about 19 cm long. Finally, use a Bowline knot and tie the strap on top of the handle. Repeat the same procedure for the other handle. Bowline knot gets tighter and stronger under pressure. Therefore, after tying TRX knot put pressure on it and stretch the handles as many times as you can until the knot becomes fixed and tight completely.
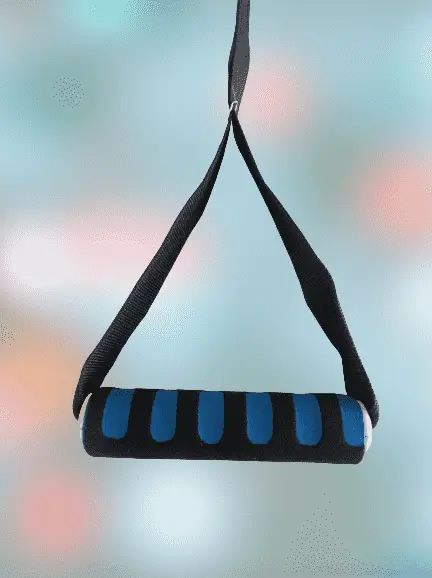
Creating Two Arms of Homemade Suspension Trainer
At this stage, there are two handles attached to both sides of the strap. Fold the strap from the middle and put both handles near each other. At 1.5 meters from the handles towards the rest of the strap tie a knot (an ordinary knot) so that both straps stick together at this point. In this way, you created two arms of the homemade TRX straps.
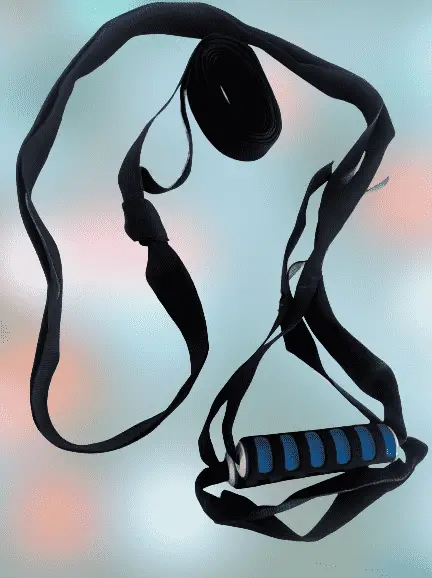
Notice, in this DIY TRX system, each arm is approximately 1.5 meters long and cannot be shortened nor lengthened later; None of the arms should be longer than another. To test the TRX straps’ length, from the point of the central knot if you hang handles from a high position, both handles should stay parallel to each other.
So, it is important to do the measurement precisely before tying that knot. One simple way of doing it is this: before doing the knot put both handles on the ground and hold them with your foot, then stretch both straps up until the length of both TRX straps are equal. Just then do a knot and stretch it many times until the knot becomes fixed and tight.
Homemade TRX Anchor Loop
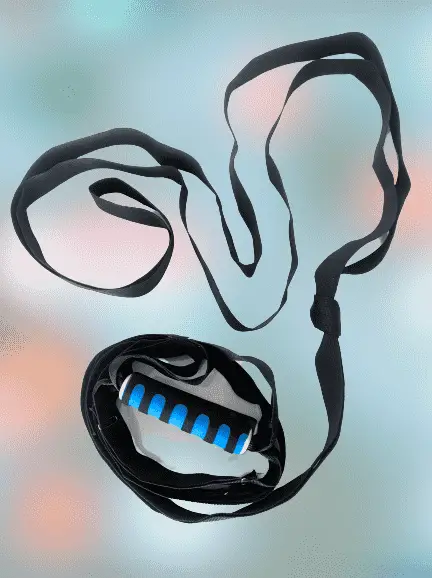
From the point of the middle knot towards the rest of the homemade TRX remains a long loop. This long loop is the anchor loop of our TRX system. The two-layer strap also increases the safety and strength of our DIY TRX system. In the official TRX trainer, this anchor strap consists of smaller loops that are used to adjust the length of the trainer. Nevertheless, in this minimalist suspension trainer, we don’t need that part.
Therefore, it is optional to make small loops along the strap or just leave it the way it is with that long loop. To create those small adjusting loops, you can sew two traps together at equal distances. Either way, there should remain a loop of at least 30 cm long. We use this locking loop to anchor TRX to any object. It should be big enough that handles can move through it.
DIY TRX Foot Cradles for Homemade Suspension Trainer
Finally, we create foot cradles for our calisthenics handles. TRX Foot cradles require two 1-meter straps. In our model, the length of the straps is 70 cm, but you had better adapt the measures according to your foot size. Pass the prepared webbing through the handles and create a loop for each handle. Again, at this point, you can use a bowline knot to fasten the loop or if you need a cleaner loop, use a strong piece of thread and have them sewn.
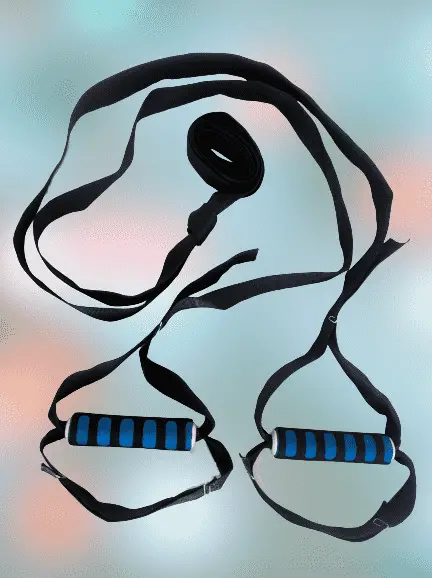
Another option is to use a combination of both methods for added safety and a firm bond. Therefore, Wherever there is a bond between straps, first tie a bowline knot and then get the rest of the strap sewn.
TRX Anchor Carabiner for Homemade TRX
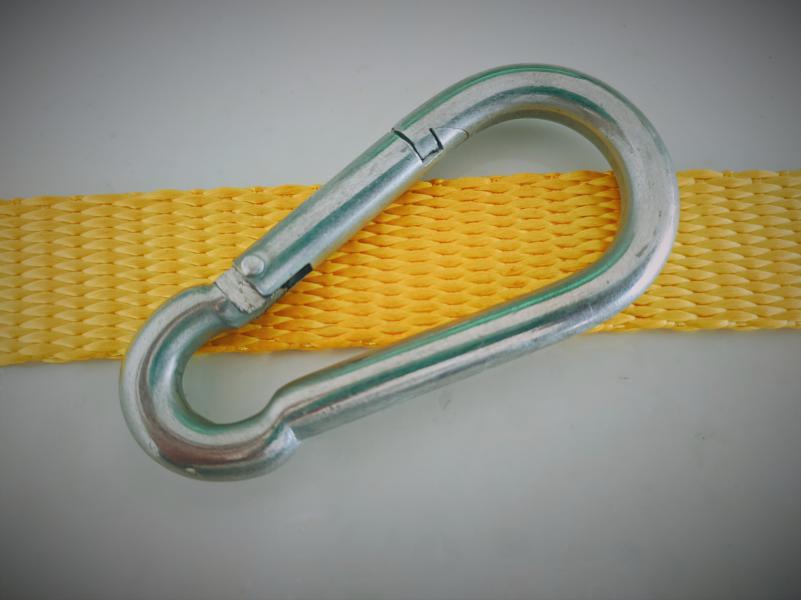
We don’t use any metallic object in creating this minimalist suspension trainer. The only part is a TRX anchor carabiner that is only occasionally used to anchor the homemade TRX in certain conditions. Preparation of this full body calisthenics workout trainer is quite easy and inexpensive. I suggest creating two different full body calisthenics workout trainers. We will introduce certain workouts that require to have two separate anchor points in TRX anchoring solutions.
Important Points About DIY Suspension Trainer
- After building your own TRX, burn the cutting edges of the straps everywhere to prevent them from getting loose.
- Bowline knots on these calisthenics handles will take time to become fixed and tight under pressure. So, for the first two weeks of using the suspension trainer, we expect some degrees of change in the measurements. During this period use the homemade TRX with caution until all those knots become tight and fixed. If you decide to get the end of the strap sewn after tying TRX knot, do it when you are sure that the knots are fixed in their place!
